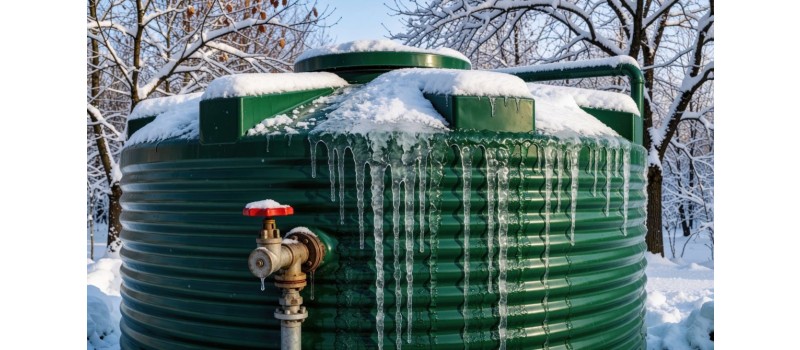
When the cold weather comes, sites across the country face a similar problem: how to keep stored liquids safe from the plunging temperatures. Whatever liquid you are storing, water tank insulation should be one of your top priorities this winter.
And there’s a very good reason why, because without the proper precautions, cold weather can lead to damaged or even ruptured containers, pipes or hoses. This, in turn, leads to a lot of downtime and expensive repairs or replacements. And that’s assuming you’re there to assess the damage, which you may not be over the Christmas closedown.
Seeing as it’s so important to protect your water supplies from frost and general cold weather, we have put together a handy guide to help you keep your water supplies as they should be this winter.
Why freezing damages water tanks, IBCs and fittings
When temperatures drop, water that freezes expands by about 9%. That may not sound like a lot, but in a fully sealed container that expansion pushes out against the walls, the lid and the fittings.
On top of this, plastic becomes more brittle in freezing conditions, so cold tanks and barrels are more likely to crack, especially if they're knocked or moved. This matters most for IBCs: the inner bottle on almost every IBC is only around 4mm thick, whether it's new, rebottled or black, so none of them are built to withstand freezing. If you combine a brittle container with pressure from expanding ice, you run a very real risk of serious damage.
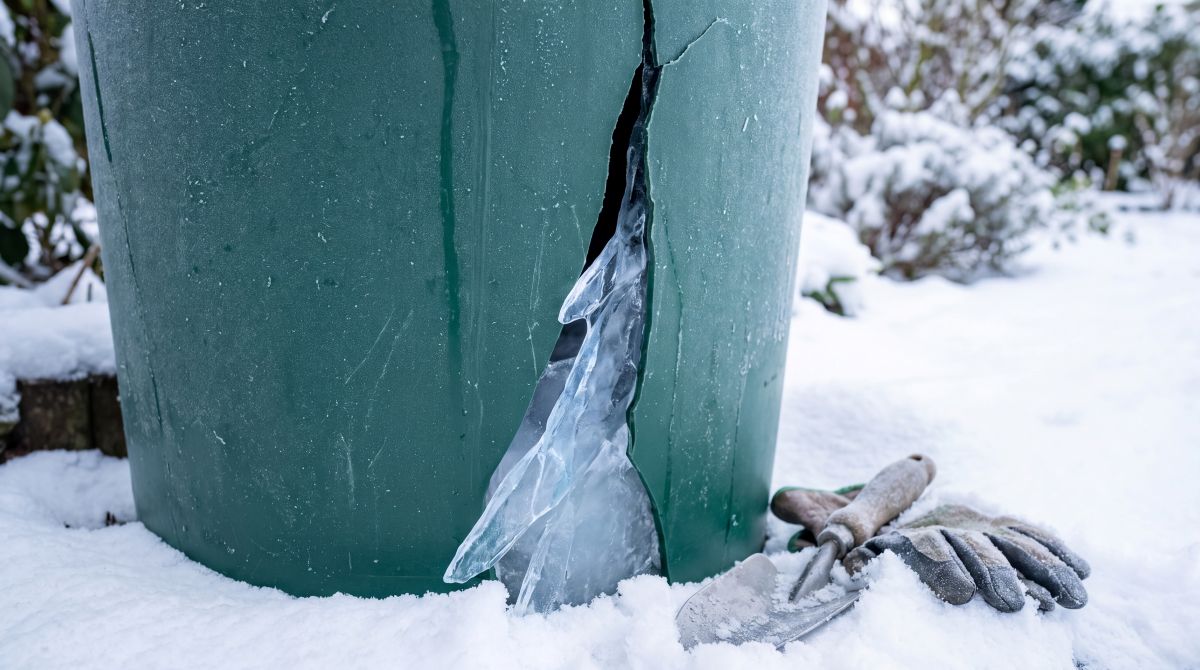
Even if the tank body holds up, there are other weak points to consider, such as taps, valves, outlets, short pipe runs and lids. These smaller components often split or crack under the pressure, leading to leaks or even complete loss of the stored liquid once the thaw sets in. On an IBC, the valve at the bottom is especially vulnerable, and it stays at risk even when the container is only half full. These areas need every bit as much protection as the main tank, if not more.
Even if you avoid damage altogether, frozen water is no use to you. If the contents of your tank or IBC freeze solid, they can't be used until temperatures rise again.
Should you drain IBCs and containers over winter?
The answer depends on what you're storing in your containers. Advice differs based on the contents, but for water, we'd always advise draining it if you can. This is especially true of IBCs stored outdoors, which shouldn't be left with water in them over winter. Even half-filling an IBC isn't enough, because the valve at the bottom is still exposed and at risk of damage.
That said, we realise draining isn't always possible, so here are some tips to help you protect your supply if you must leave it outside:
- Think about where your containers are kept. Shelter and insulation make the biggest difference, so move IBCs and other containers indoors or under cover where you can.
- Look at sizes and how much each one is used. Large tanks that stay in regular use are at lower risk, as unused, standing water freezes faster. Small containers and tanks holding only a little water are the most vulnerable, so deal with those first.
- Empty jerry cans and drums and keep them out of the cold. None are truly frost-proof. Steel drums cope a little better than plastic, but they can still be damaged.
- If a container has to stay outside, insulate it as well as you can. For this, consider our Thermal IBC Jacket Cover.
- When you drain a tank, drain the tap and any connected pipes or hoses too. Water trapped in fittings can often be what causes the damage.
- Some water butts have a drain point at the bottom, so they can be emptied before winter.
How to prevent frozen pipes, taps and hoses
The pipes, taps and hoses connected to your tank are often the first thing to freeze, so a few simple steps can help prevent frozen pipes and keep your water flowing:
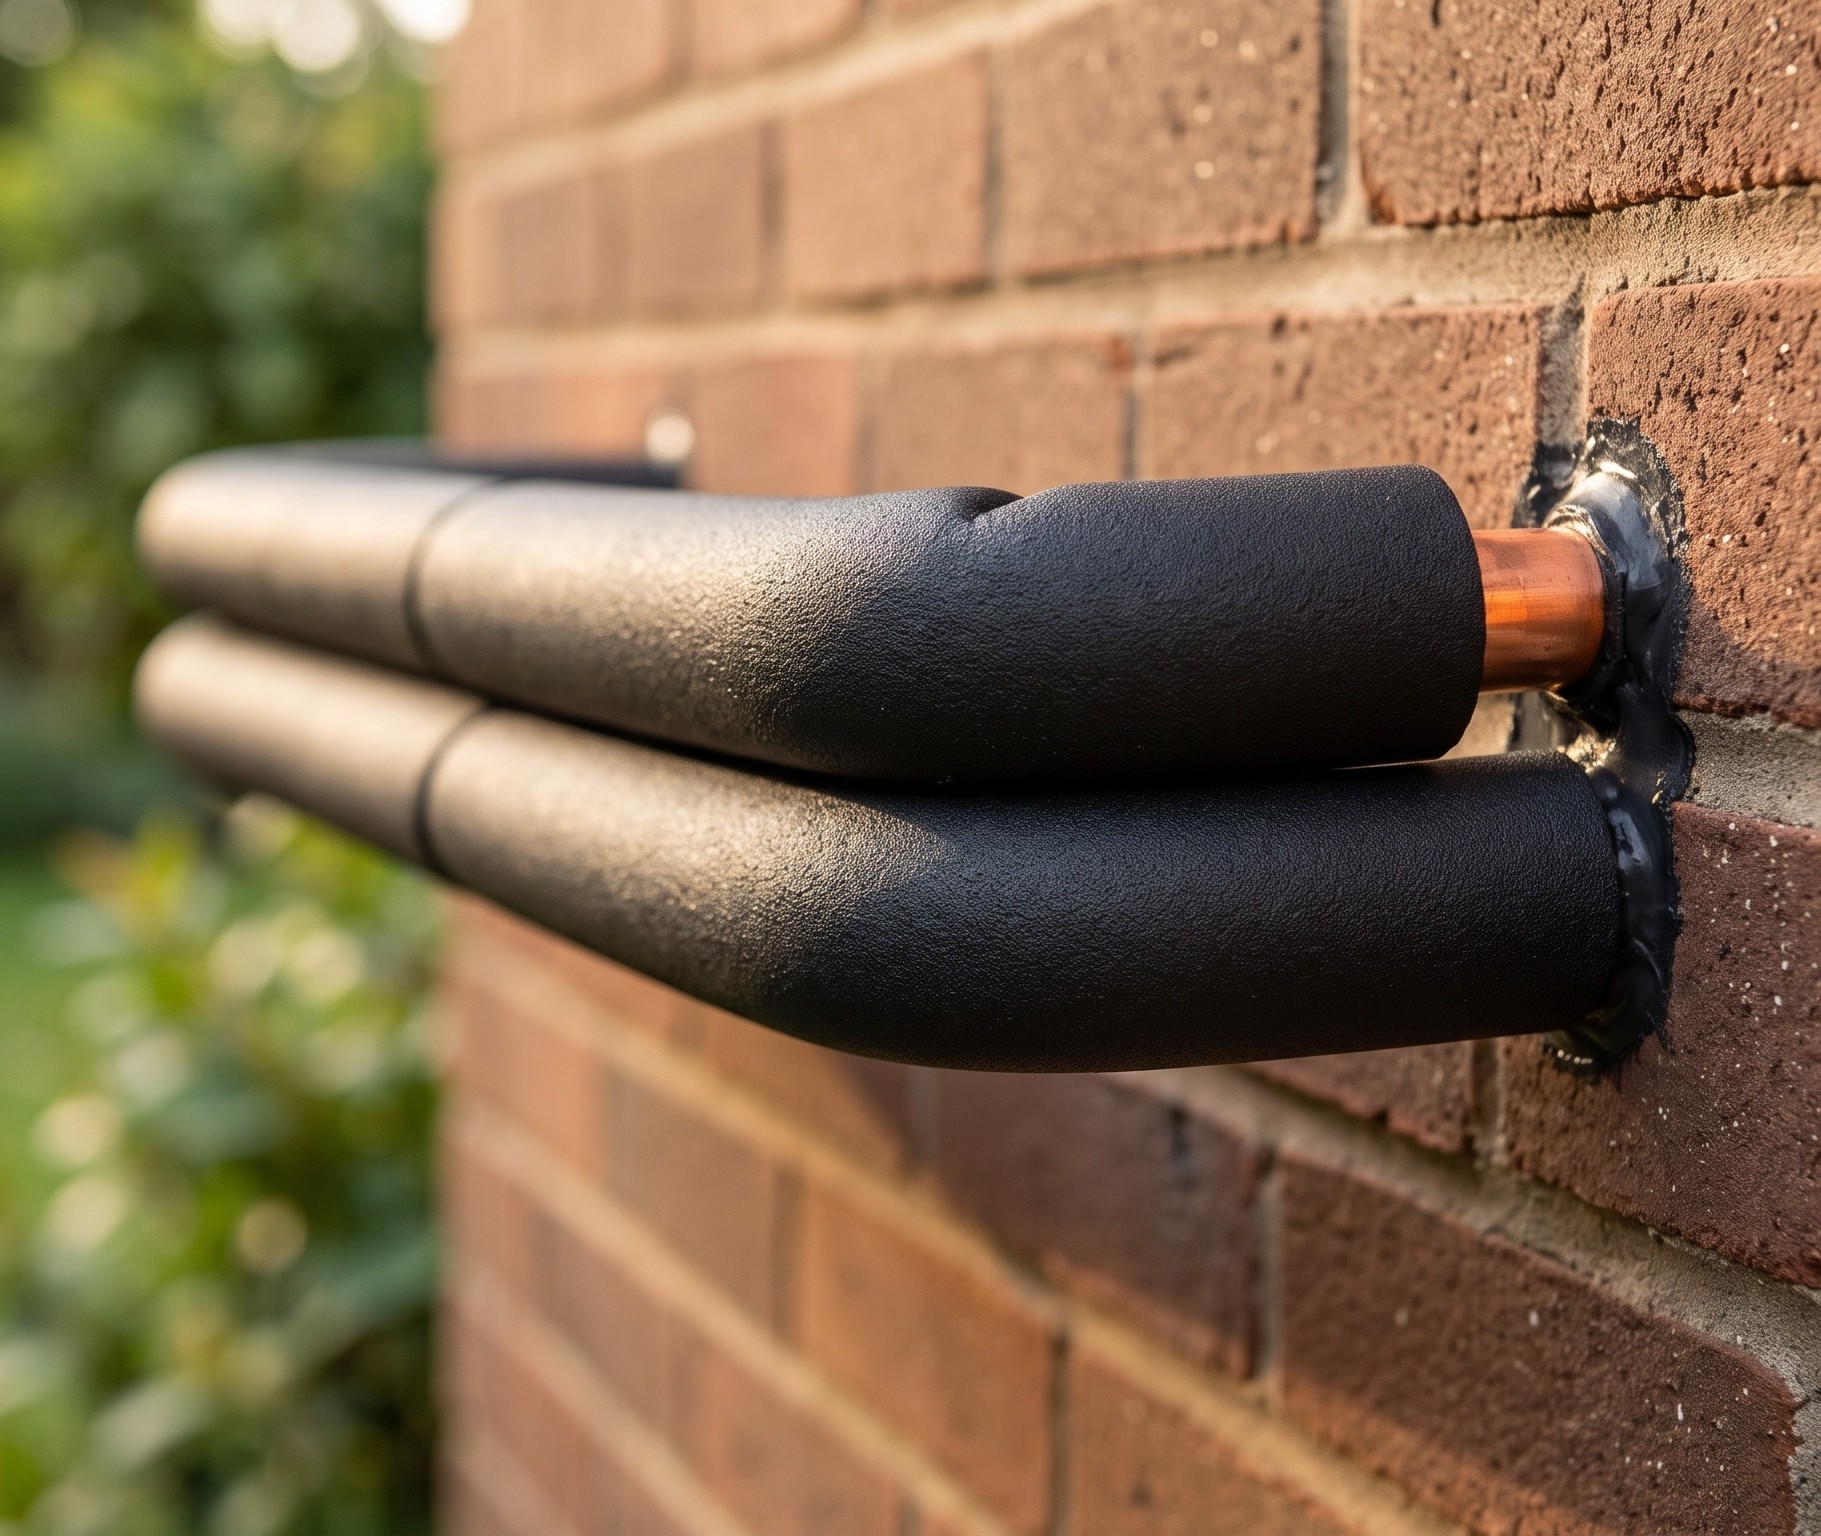
- Lag any exposed pipes outdoors or in unheated spaces, leaving no gaps at bends, joints or valves. Use waterproof lagging outside, as wet lagging won't insulate.
- Disconnect hoses over winter, as a hose left attached traps water in the tap. Turn off and drain any outdoor taps and pipe runs you don't need.
- Keep water moving where you can, because standing water freezes first.
- Fit frost-resistant taps on exposed outlets, such as in yards, on sites or near livestock.
When is water tank insulation enough?
While it may not look like it would, even a thin layer of insulation can dramatically reduce heat loss, and therefore make a big difference to how long a tank takes to freeze. Wrap-around insulation works well for indoor tanks or those under cover, especially if you use multi-foil blankets stapled and taped around it, which are a common choice.
As for outdoor tanks, insulation that has been designed for indoor use can still work, but it would need to be waterproof. If not, any insulated tank exposed to the elements will be at risk of degrading. And if you’re looking to weatherproof it, a good idea is to cover it with battens and cladding to keep out the rain, wind and sun.
However, it’s important to remember that insulation, whether indoor or outdoor, only slows down heat loss. In a long, hard freeze, or for a small tank that isn’t much used, it may not be enough on its own. Therefore, you might want to consider an option that actively provides heat, rather than just conserving it.
Insulation jackets vs heater jackets
While insulation slows down heat loss but adds no additional heat, a heater jacket is the ideal choice if you need a controlled environment where a temperature can be maintained or if your tank needs to be warmed up.
When making your decision on which option to go for, a good rule of thumb is:
-
Use insulation when the contents just need protecting from the cold, and the freeze is likely to be short or mild.
-
Use a heater jacket when the contents must stay above a set temperature, if the cold is prolonged, or if something that’s already frozen needs thawing.
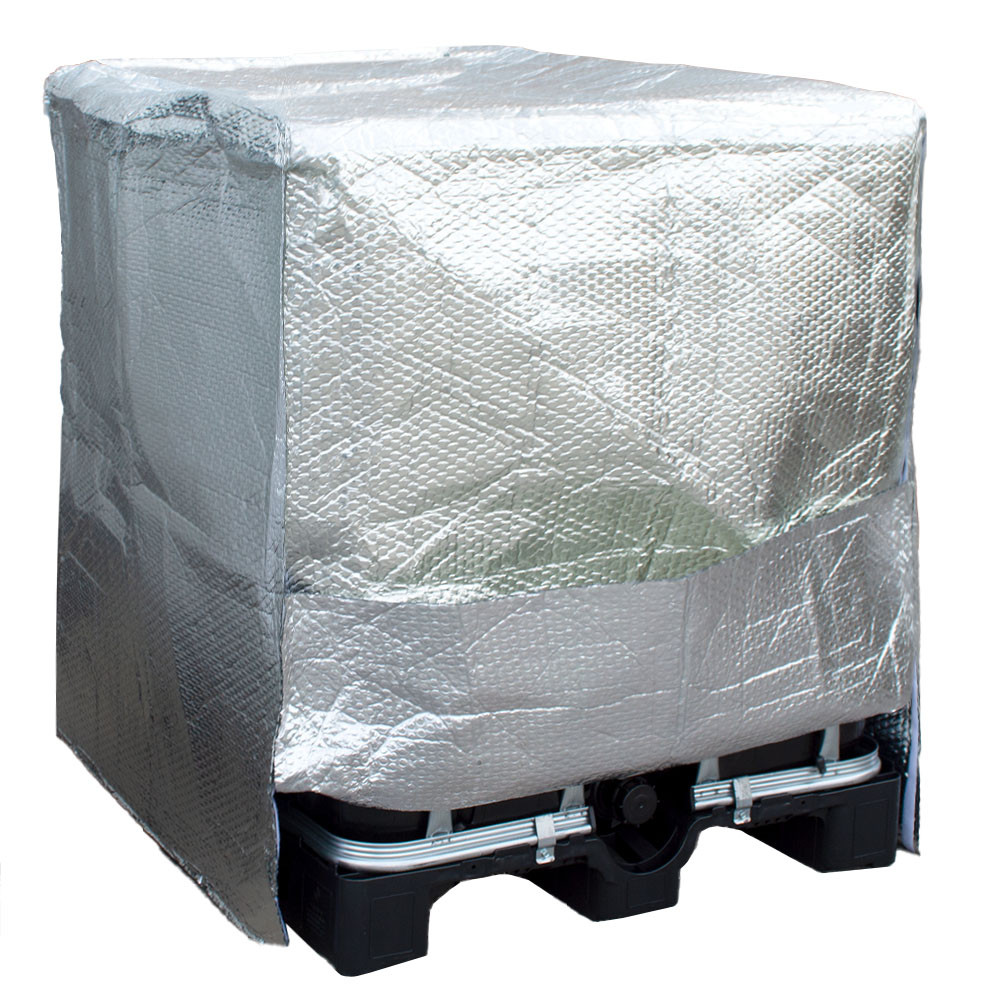
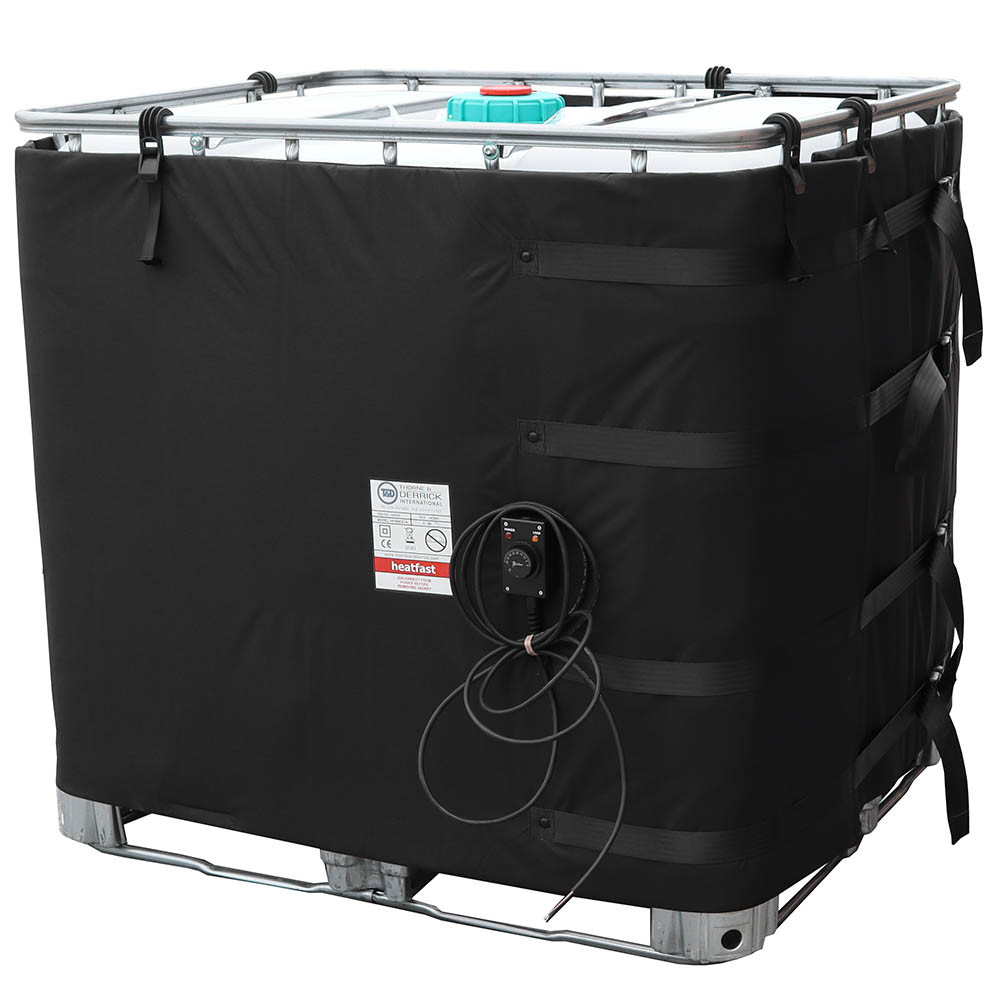
Important point: While insulation can be used for outdoor tanks provided it is waterproof, heater jackets should only be used indoors.
Another point to consider is how varied your needs are. This is where opting for a heating jacket might win out, because heating jackets aren’t just good to combat frost and stop water from freezing, but they’re also widely used to keep oils, fats, glues, chemicals and food ingredients at a working temperature.
So, if you’re thinking about choosing a heating jacket, there are a few points to keep in mind:
-
Power: Higher wattage heats faster
-
Voltage: 110V for building sites, 230V for standard mains
-
Thermostat range: This would typically be 0-40 °C for frost protection and gentle warming, with higher ranges for process heating
If your need calls for it, you could always use an insulation jacket over the top of a heating jacket to hold as much heat in as possible. Either way, always be sure to use a lid or a top cover, because a lot of heat escapes through the top.
Tips for safety
-
Switch off and unplug heater jackets when the container is empty, while it’s being filled, and while fitting or removing the jacket
-
Let jackets cool completely before folding them away
-
Foil thermal jackets reflect heat and UV, so they help in summer as well as winter, but if you’re going to use them outdoors, they need a waterproof cover over the top
-
For plastic drums, use a jacket designed for plastic
A winter checklist for water storage
Before the first frost
-
Inspect tanks, lids, taps and fittings, and repair or replace anything damaged.
-
If possible, fully drain IBCs, jerry cans and drums stored outdoors, including taps and valves.
-
Move small containers and IBCs indoors or under cover where possible.
-
Disconnect hoses, lag exposed pipes, and turn off supplies you don't need.
-
Insulate tanks that stay in use, and weatherproof any insulation used outdoors.
-
Insulate or cover site bowsers and temporary tanks. If one will sit unused through freezing weather, drain it fully, including the outlet valve.
-
Store any emergency water supply somewhere sheltered or indoors, and plan how you'll get it out, for example with a hand or battery pump.
-
Fit frost-resistant taps on exposed outlets, such as on troughs and yard supplies.
-
Arrange any covers or jackets early, before demand peaks.
During cold spells
-
Check taps, outlets and livestock troughs daily.
-
Keep water moving where possible, especially in bowsers and tanks in regular use.
-
Look out for ice forming and outlets blocking.
-
Avoid knocking or moving plastic tanks while they're cold.
-
Treat or purify stored emergency water before drinking it.
What to do if your water tanks or pipes are already frozen
This step is especially useful if you’ve come back from the festive break to find your water tanks or pipes have succumbed to winter frost. Below is a step-by-step process of how to safely thaw your tank or pipes. But remember to take it slowly, because gentle heat will thaw it without causing further damage.
-
First, open the tap so that meltwater has somewhere to go and relieves the pressure
-
Then, start at the tap end and work back towards the supply. Thawing from the outlet first will stop water from getting trapped between frozen sections
-
Apply gentle, gradual heat by using warm cloths, a hot water bottle, or a hairdryer on a low setting
-
Avoid sudden or direct heat. Never use a naked flame or blowtorch, especially on plastic, and don’t pour boiling water over cold plastic
-
For heated containers, stay within the thermostat range rather than turning it up to speed things along
- Check for damage once it's thawed by inspecting closely around taps, outlets, fittings, lid seals and the corners of the base. On an IBC, pay particular attention to the valve at the bottom
-
Refill slowly and watch for leaks, because drips or weeping can be a sign of frost damage. Always make sure to never put the tank back into use until you’re sure the structure is sound
-
Repair or replace anything damaged. Fine hairline cracks in plastic can sometimes be repaired by welding, but larger cracks mean the tank should be replaced. On an IBC, a damaged tap or inner bottle can often be replaced without replacing the whole unit
-
Flush the system once it’s flowing again by running water through any pipes and outlets that were frozen to clear out the water that has been standing still. This is crucial, as stagnant water raises the risk of Legionella
Compliance tip: Workplaces have legal duties to manage Legionella risk and should follow the HSE's guidance.


